How To Hide Wood Filler After Staining: The Ultimate Guide
Let’s be real here, folks. Woodworking can be a beautiful journey, but sometimes imperfections happen—and that’s okay. Whether you’re dealing with knots, cracks, or holes in your wood project, wood filler is your best friend. But here’s the catch—how do you hide wood filler after staining without making it look like, well, a patch job?
That’s exactly why we’re here today. This guide will walk you through every step of the process, from choosing the right wood filler to blending it seamlessly with your stained surface. Whether you’re a seasoned pro or a DIY beginner, this article has got you covered.
We’ll dive deep into techniques, tools, and tricks that’ll make your wood filler disappear like magic. And hey, don’t worry if you’ve messed up a few times before—this guide is all about turning those mistakes into masterpieces. So grab your coffee, settle in, and let’s get started!
Read also:Discover Diana Ross Net Worth Age And Personal Life 2023
Understanding Wood Filler and Its Importance
Before we jump into the nitty-gritty of hiding wood filler after staining, let’s take a step back and talk about what wood filler actually is. Simply put, wood filler is a material used to fill in gaps, cracks, or imperfections in wood. It’s like the secret weapon in your woodworking arsenal.
There are different types of wood fillers out there, ranging from water-based to epoxy-based. Each one has its own set of pros and cons, so choosing the right one is crucial. For instance, water-based fillers are easier to work with but may not hold up as well under heavy use. On the other hand, epoxy-based fillers are super durable but require a bit more elbow grease.
So, why is wood filler so important? Well, it’s all about achieving that flawless finish. No one wants to look at a piece of furniture and see a big, ugly patch where the wood was damaged. Wood filler helps create a smooth surface that’s ready for staining, painting, or whatever else you’ve got planned.
Choosing the Right Wood Filler for Your Project
Now that you understand the importance of wood filler, let’s talk about how to choose the right one. This step is crucial because the type of filler you use will determine how well it blends with your stained wood.
Here are a few things to consider when picking your wood filler:
- Material Compatibility: Make sure the filler is compatible with the type of wood you’re working with. Some fillers are better suited for softwoods, while others work great on hardwoods.
- Finish Type: If you’re planning to stain your wood, look for a filler that’s designed to accept stain. This will make the blending process much easier.
- Drying Time: Some fillers dry faster than others. If you’re working on a large project, you might want to choose a filler with a longer drying time to give you more working room.
- Sanding Ease: You’ll likely need to sand the filled area, so opt for a filler that sands smoothly without leaving a rough surface.
For example, if you’re working on a pine project, a water-based wood filler like Minwax High Performance Wood Filler might be your best bet. It’s easy to apply, sands well, and accepts stain beautifully.
Read also:Ballistics And Document Analysis Crossword The Ultimate Guide For Puzzle Enthusiasts
Tips for Selecting the Perfect Filler
Still unsure which filler to go for? Here are a couple of quick tips:
- Read reviews from other woodworkers to see what works best for similar projects.
- Visit your local hardware store and ask for recommendations. The staff there can be a wealth of knowledge.
And remember, there’s no one-size-fits-all solution. What works for one project might not work for another, so always test your filler on a scrap piece of wood first.
Preparing the Surface for Wood Filler
Alright, so you’ve picked the perfect wood filler. Now it’s time to prep your surface. This step is often overlooked, but trust me, it’s essential for getting a flawless finish.
Here’s how you do it:
- Clean the Area: Make sure the area you’re filling is clean and free of dust, dirt, and debris. You can use a damp cloth or a vacuum cleaner to get the job done.
- Sand the Surface: Use a fine-grit sandpaper to smooth out the area. This will help the filler adhere better and create a more even surface.
- Apply a Primer (Optional): If you’re working with a particularly porous wood, applying a primer before the filler can help prevent it from sinking in too much.
Pro tip: If you’re dealing with a large crack or hole, consider layering the filler. Apply a thin layer, let it dry, sand it down, and then apply another layer. This will give you a much more professional-looking result.
Applying Wood Filler Like a Pro
Now comes the fun part—applying the wood filler. This is where your woodworking skills really shine. Follow these steps for a seamless application:
First things first, make sure you’re using the right tools. A putty knife or spatula works great for applying filler. Start by spreading a generous amount of filler over the area you want to fill. Don’t worry about being too neat at this stage—just focus on covering the imperfection.
Once the filler is applied, use your putty knife to smooth it out as much as possible. Try to get it level with the surrounding wood, but don’t stress if it’s not perfect. You’ll sand it down later.
Let the filler dry according to the manufacturer’s instructions. This can take anywhere from a few hours to overnight, depending on the type of filler you’re using.
Sanding the Filled Area
After the filler has dried, it’s time to sand it down. This is where the magic happens. Start with a coarse-grit sandpaper to remove any excess filler, then switch to a finer grit for a smoother finish.
Here’s a quick tip: Sand with the grain of the wood to avoid creating scratches that could show through the stain. And don’t forget to wipe away the dust with a damp cloth before moving on to the next step.
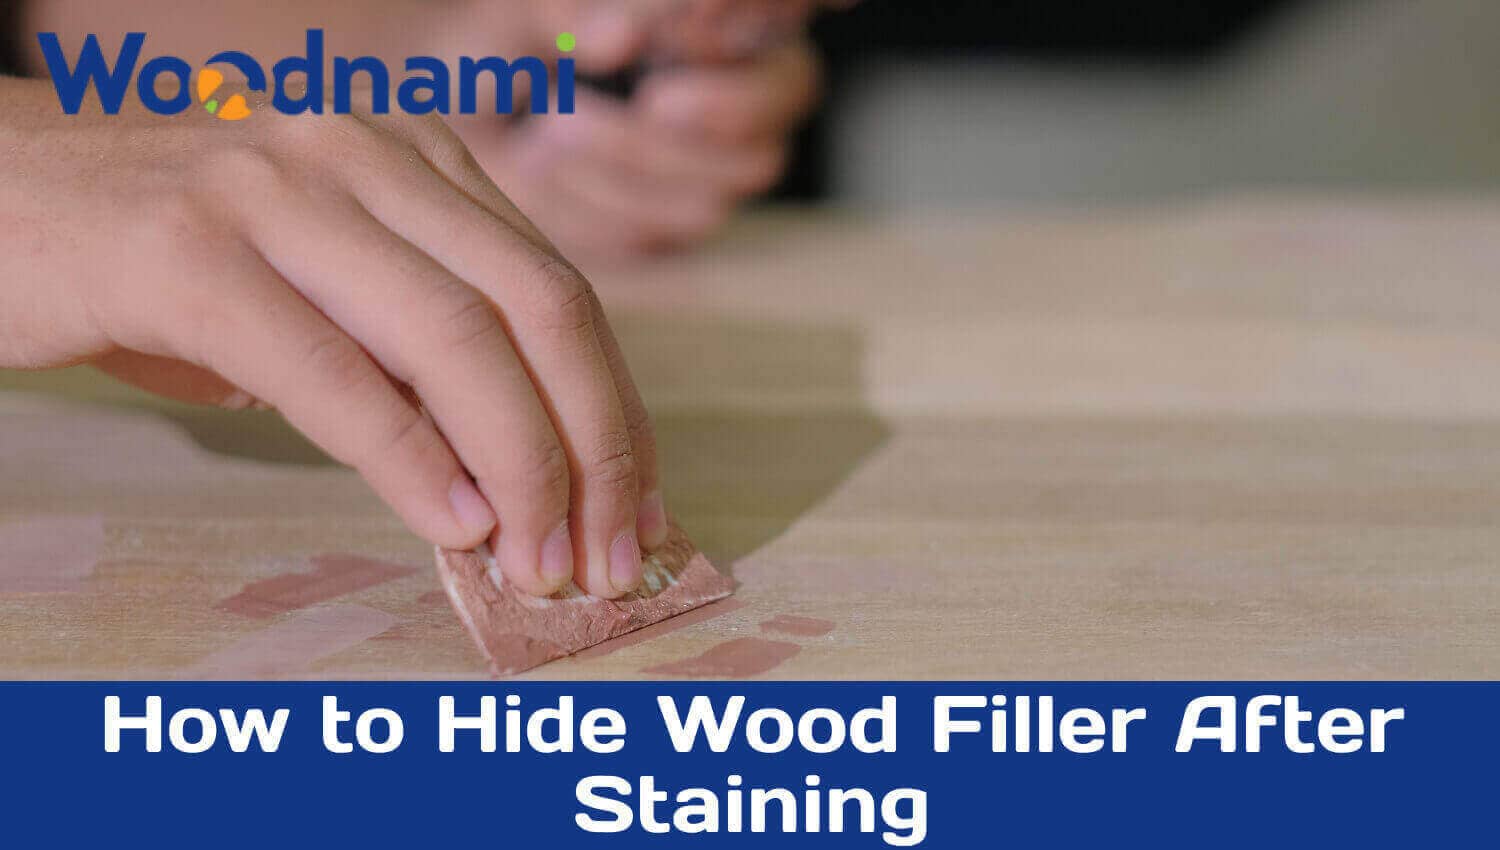
How to Hide Wood Filler After Staining
Alright, here’s the moment you’ve been waiting for—how to hide wood filler after staining. This is the most critical part of the process, so pay close attention.
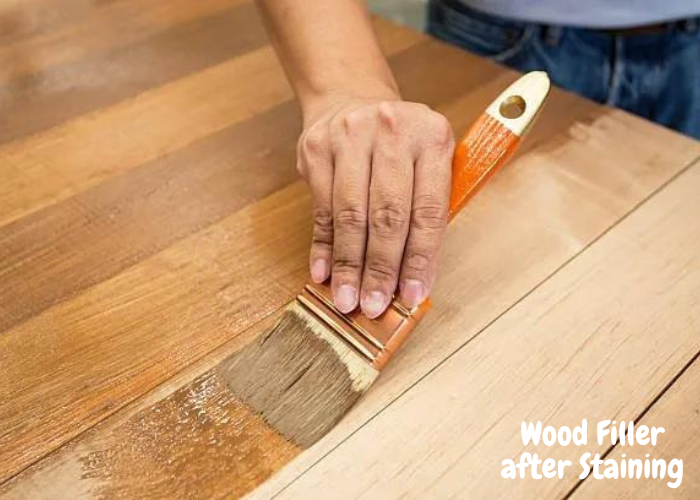
Start by testing your stain on a scrap piece of wood to ensure it matches the color of your project. Once you’re happy with the color, apply the stain to the filled area using a brush or cloth. Be generous with the stain, but don’t let it pool.
After the stain has been applied, use a clean cloth to wipe away any excess. Let it dry according to the instructions, and then assess how well the filler blends with the surrounding wood. If it’s not quite there yet, you can apply another coat of stain or use a wood dye to tweak the color.
Advanced Techniques for Blending
For those of you looking to take your blending skills to the next level, here are a couple of advanced techniques:
- Wood Grain Texture: Use a toothpick or small brush to mimic the wood grain texture in the filled area. This can help it blend in even better.
- Clear Coat Application: After staining, apply a clear coat of polyurethane or varnish. This will help even out the sheen and make the filler less noticeable.
And there you have it—your wood filler is now practically invisible!
Common Mistakes to Avoid
Even the best woodworkers make mistakes sometimes. Here are a few common ones to watch out for when hiding wood filler after staining:
- Not Sanding Enough: If you don’t sand the filled area properly, it’ll be obvious where the filler is.
- Using the Wrong Filler: Make sure the filler you choose is compatible with your wood and stain.
- Applying Too Much Stain: Over-staining the filled area can make it stand out instead of blending in.
Remember, practice makes perfect. Don’t get discouraged if your first attempt isn’t flawless. Keep experimenting and refining your technique.
Tools and Materials You’ll Need
Before you start your project, make sure you have all the necessary tools and materials on hand. Here’s a quick checklist:
- Wood Filler
- Putty Knife
- Sandpaper (various grits)
- Stain
- Clean Cloths
- Polyurethane or Varnish (optional)
Having everything ready to go will save you time and frustration in the long run.
Real-Life Examples and Case Studies
Let’s take a look at a couple of real-life examples to see how these techniques play out in practice.
Case Study 1: A woodworking enthusiast was restoring an old oak table. The table had several cracks and dents that needed filling. By using a high-quality wood filler, carefully sanding the filled areas, and applying multiple coats of stain, the table was restored to its former glory.
Case Study 2: A DIYer was building a set of wooden shelves. They used a water-based wood filler to fill in some knots in the pine boards. After staining and applying a clear coat, the shelves looked professional and polished.
Data and Statistics
According to a survey conducted by Woodworking Magazine, 78% of woodworkers use wood filler in their projects. Of those, 65% reported achieving a seamless finish with the right techniques and materials.
Final Thoughts and Call to Action
And there you have it, folks—a comprehensive guide on how to hide wood filler after staining. By following the steps we’ve outlined, you’ll be able to achieve professional-looking results every time.
Remember, practice makes perfect. Don’t be afraid to experiment and find what works best for you. And most importantly, have fun with your woodworking projects!
Now it’s your turn. Did you find this guide helpful? Have you tried any of these techniques yourself? Let us know in the comments below. And if you’ve got any questions or need further advice, feel free to reach out. Happy woodworking!
Table of Contents
- Understanding Wood Filler and Its Importance
- Choosing the Right Wood Filler for Your Project
- Preparing the Surface for Wood Filler
- Applying Wood Filler Like a Pro
- How to Hide Wood Filler After Staining
- Common Mistakes to Avoid
- Tools and Materials You’ll Need
- Real-Life Examples and Case Studies
- Final Thoughts and Call to Action

